
Arbor Day is almost a month away and if you have clients asking questions about properly installing a tree, you can share these clearcut steps with them.
First, discuss with your client what type of tree they’d like to plant. Make sure their desired species can thrive in the climate where they’re planting. Once those specifics are worked out, there are a few basic steps they can follow.
Choose a Spot to Plant
The spot they choose for their new tree should be conducive for growth. Does it have good soil and proper drainage? If your client isn’t sure how to test for drainage, tell them to dig a hole and fill it with water. If the water hasn’t drained within 24 hours, the spot doesn’t have optimal drainage. Your customer should either choose a different spot or install some type of drainage system.
Dig a Wide Hole
The hole your client digs for planting their tree matters. It shouldn’t be too deep, but it should be wide. The base of the tree’s root ball should sit on solid ground. The top of the root ball should be at ground level or an inch or two higher — it shouldn’t be below surface level. This is because covering the entire root ball with soil can suffocate the root system.
A wide hole gives the tree’s root system plenty of room to spread and establish itself. Aim for a hole twice the width of the root ball all around.
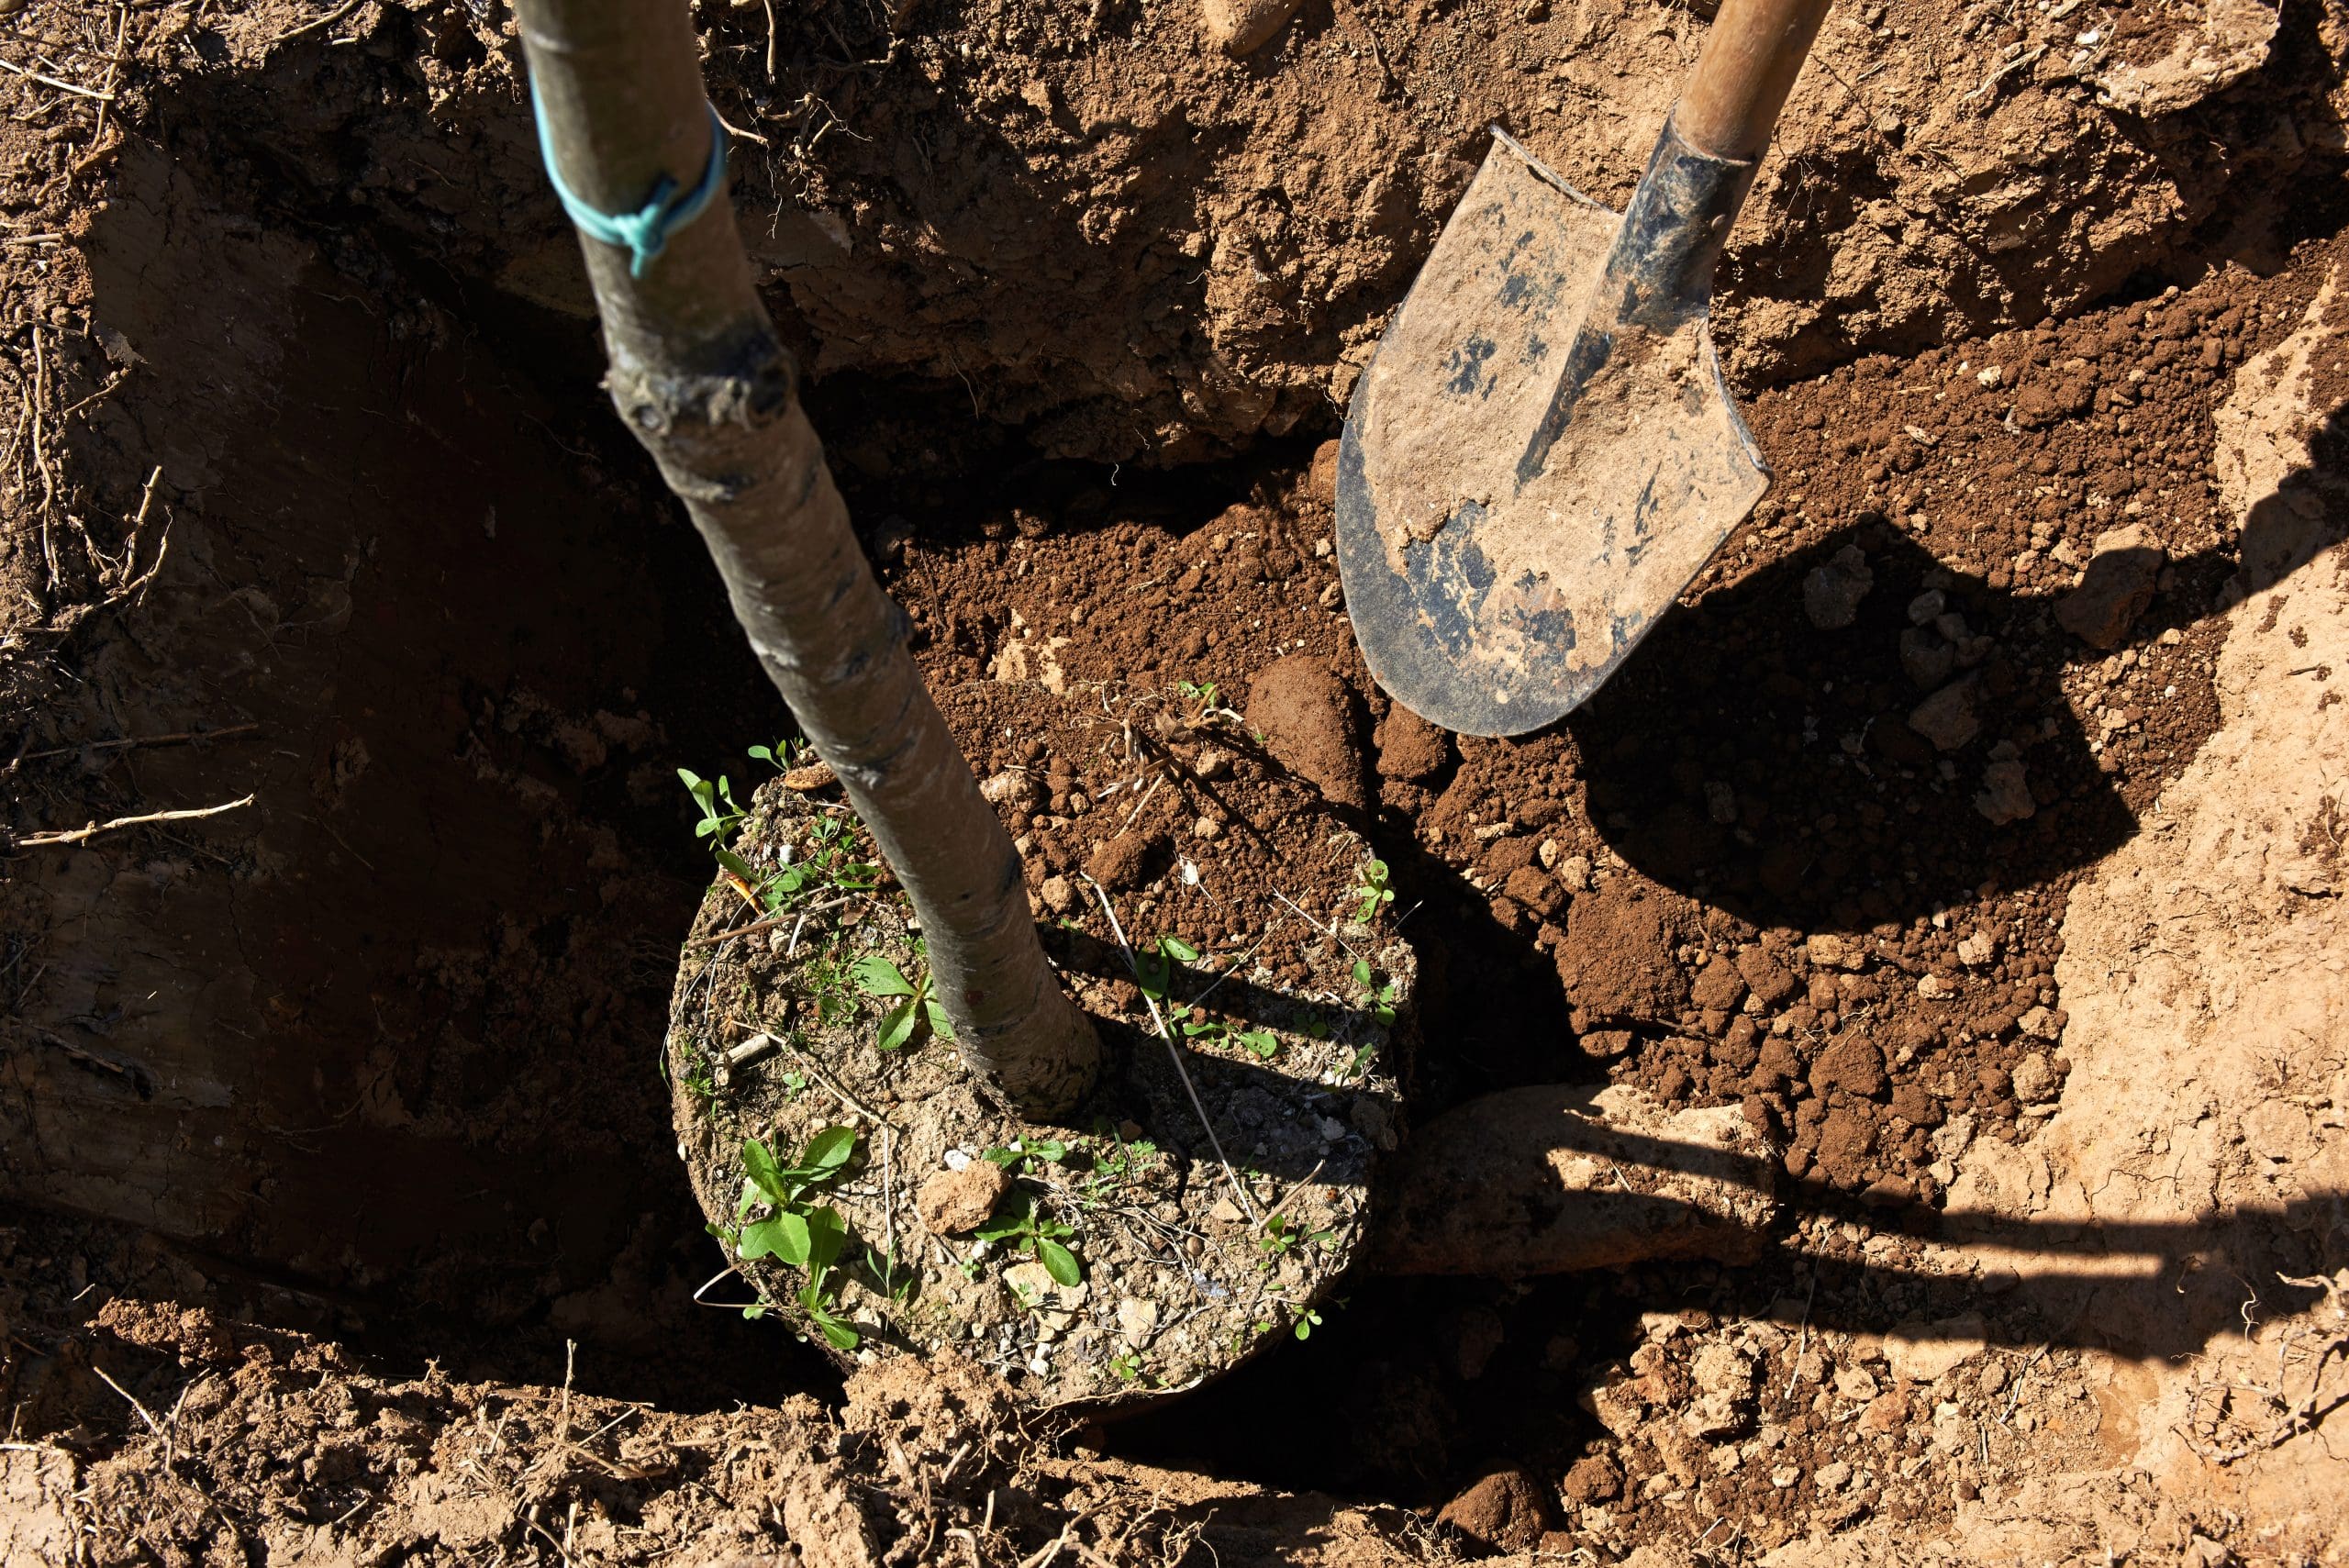
Prepare the Tree for Planting
Most trees come home with your customer either in a pot or wrapped in burlap. These types of trees can typically be planted year-round so long as the ground is thawed enough to dig. Planting the tree will mean removing it from its pot or unraveling the burlap wrap, provided it is a synthetic burlap.
Natural burlap will disintegrate into the soil so it can be left on the root ball if desired. Stress to your clients if they can’t tell the difference between synthetic and natural burlap to go ahead and remove it, as synthetic burlap can take decades to decay.
Once the tree’s roots are free from their casing, gently separate them from their tight tangle. Try not to cut or tear any healthy roots. Think of this step as more of a fluffing out. However, if there are any visibly dead or damaged roots, feel free to prune these away.
Plant the Tree
Now your client is ready to plant their prepared tree in the prepared hole. As noted earlier, they’ll want to set the root ball on solid ground. This keeps the tree from settling or sinking in the future. Holding the tree in place, fill in the hole with the dirt which was removed originally. It can be a good idea to mix in 10-20 percent of organic composted materials to this soil.
Once the hole has been filled, cover the area with mulch. Remember, the top of the root ball should be at surface level, and it should not be covered with dirt but rather mulch. Encourage your clients not to overdo this and create a mulch volcano.
Maintain the New Tree
Remind your customers that new trees need regular care. Consider the climate and how much water it will need. For the first year or two they’ll need to make sure they water and maintain the tree properly so they can ensure a healthy plant.
If your client decides this is a little too involved, you can always offer your services to install and maintain any trees they’d like to add to their landscape.